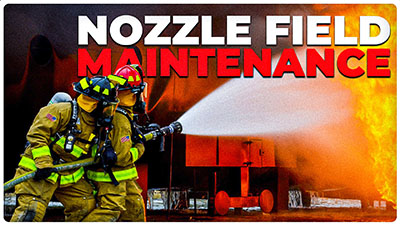
Firefighting Nozzle Lubrication Procedures
Some statements in this video are outdated, though the nozzle lubrication procedure stays the same. Kits no longer include flash drives, and you should reference the most recent NFPA (National Fire Protection Association) guidelines for all nozzle testing. Repair times are currently above 24 hours.
When to Perform Field Lubrication of Your Nozzle
This video takes you through a spray lubrication procedure for your Task Force Tips firefighting nozzles. We are often asked what the prescribed lubrication schedule is. We do not have one. Generally, we recommend that you take time to lubricate your nozzles whenever it is necessary. Figuring out if it is necessary is simple.
When you do a visual inspection of your nozzles, if everything is moving freely, they do not need any lubrication. If during your inspection you realize that things are difficult to operate, that’s the time to perform field lubrication.
Recommended Lubrication Products
We recommend using Break Free CLP, which is available at most stores with hunting and fishing items. We do carry it here as well.
Do not use WD-40, PV blaster, or any other lubricants designed to penetrate. The penetrating agents in these will get into the O-rings and cause them to swell. This will make the issue worse.
How to Lubricate Your Nozzles
In almost all cases, the lubrication points are the same for our nozzles. There are a few exceptions, some of which are noted at the end of this article and video.
In general, during lubrication, you are looking for places where something moves against another piece.
Procedure:
-
Start at the front end where your shaper is. Spray a small amount of lubricant around the inside diameter of the shaper and move it back and forth to work the lubricant in.
-
Put your nozzle in the flush position.
-
For many older nozzles, you will put a generous amount of lubricant into the center screw so that it can move down into the control unit. Use your polymer check sticks or another plastic or nonmetal material to work the baffle up and down. This will work the lubricant down into the control unit. Note: Newer control units will not have a center screw to put lubrication down.
-
Next, Spray downward along the center baffle shaft and around its diameter. You want lubricant to run down to the slide valve if your nozzle has one. Open and close the bail handle to work the lubricant around. Work the baffle up and down again.
-
Place your nozzle back in straight stream pattern and place a few small squirts of lubricant behind the shaper.
-
Move to the back end of the nozzle. Put a couple small squirts on the detent balls and springs on your bail handle. Then, place lubricant on the valve disks where the bail handle attaches to the valve body. Work the handle back and forth to work the lubrication in.
-
Open the bail handle all the way and spray the back side of your slide valve to get the quad ring.
-
Finally, put a little bit around the back side of the coupling.
-
Wipe down any excess lubrication on the outside of your nozzle and valve body.
Specific Nozzle Notes
Dual pressure nozzles: While working on the front end, put it in low pressure mode to open two small holes. This will allow you to get lubricant down into the control unit.
Combination nozzles: These follow the same procedure listed above.
G-Force and Selectable nozzles: Spray a small amount of lubricant across the front and back side of the selector ring and rotate it back and forth. Wipe away any excess lubricant.
Ball Valves: The procedure is the same, but you obviously do not need to worry about lubricating a slide valve.
We always recommend a flow test after any maintenance is completed on your nozzles.
Do you need further assistance? Reach out to our Service Team with your questions!
